|
|
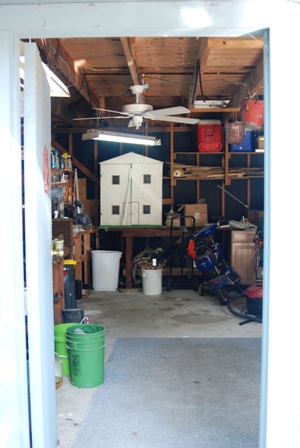
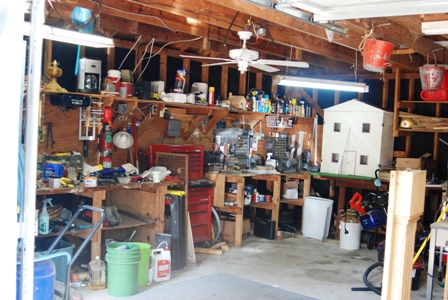
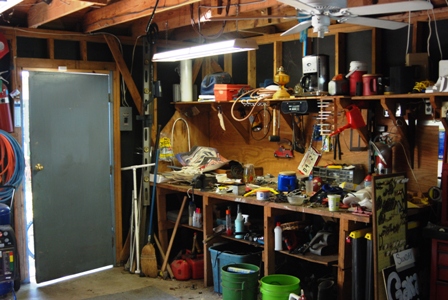
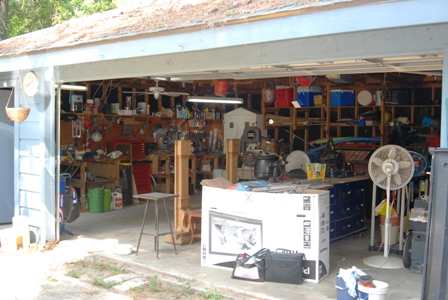
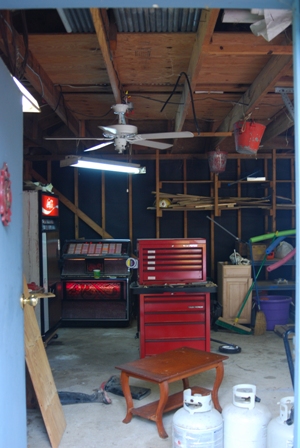
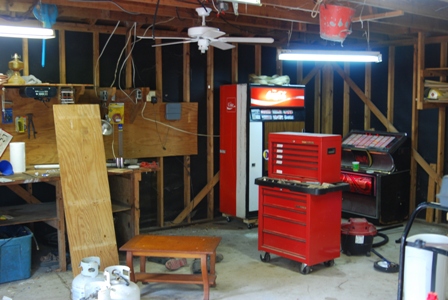
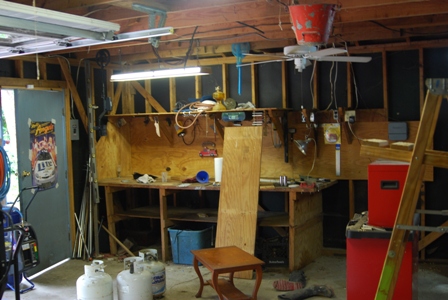
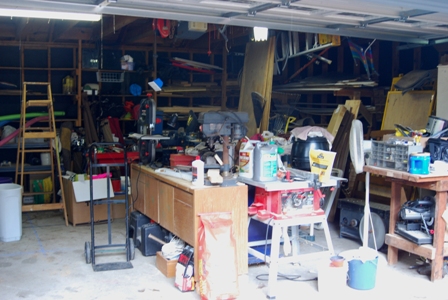
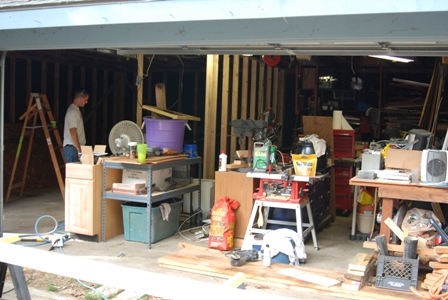
Day one of the effort and the photos show how unorganized and crowded the shop area was. Some relocation had already taken place as I moved the center work area, table saw, cross cut miter saw and band saw to the middle of the bay area.
|
|
|
|
|
|
|
|
This is day 3 where items were moved and stacked in the bay area of the garage.
I Removed the work bench in the back corner and relocated the work table and the doll house.
|
|
|
|
|
|
|
|
End of day 4 and the demo / move is almost complete with the exception on the shelves on the back wall.
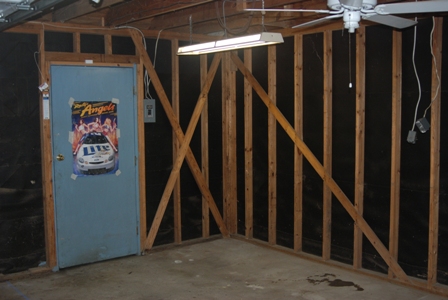
The wall plugs, switches and sprinkler controls where unattached from the walls.
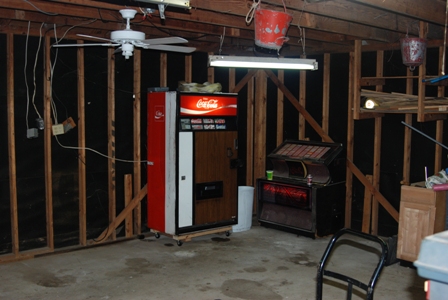
We began to lay out the locations of the various items that will be going into the Man Cave.
With the content locations known, I then set the locations for the new lights and plugs.
|
|

|
|
|

|
|
|
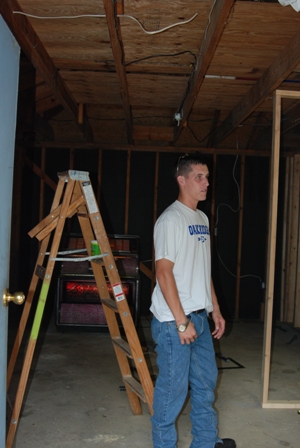
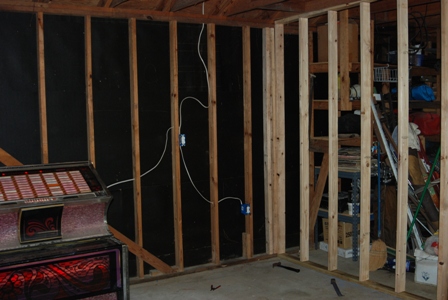
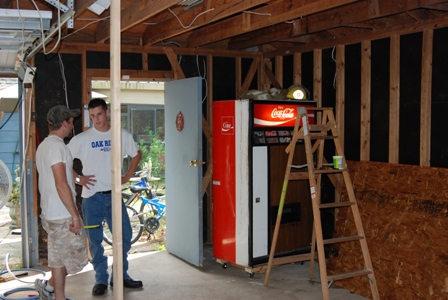
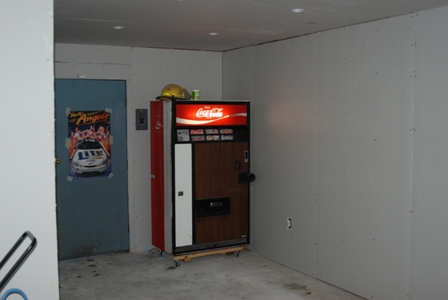
Day 5 consisted of removing the final shelves and running the electical through the existing walls and the ceiling. With the electrical done in the existing walls, I positioned the coke machine and juke box where they will ultimately reside.
I also added support framing for the Arcade Hoops game and set the location for the A/C unit. We then began to put up the walls and I finished the electrical.
|
|
|
|
|
|
|
|
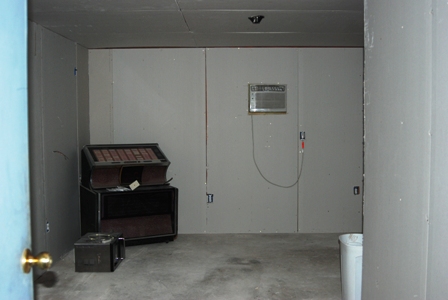
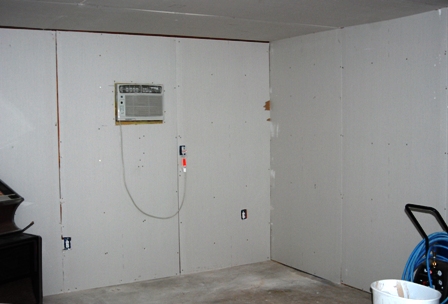
Day 6 consisted of insulating and sheetrocking the walls and mounting the A/C unit. I also installed the halogen resessed lighting in the front section and set the mounting for the ceiling fan.
Next steps will be taping and floating walls along with setting the 'stick down' tile. I will also begin to rebuild the shop area starting with the main work bench area.
|
|
|
|
|
|
|
|
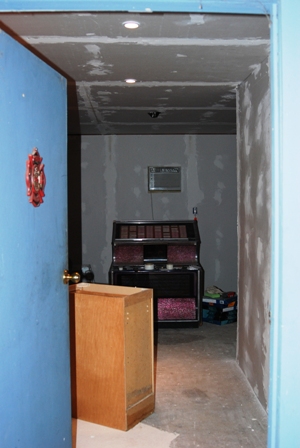
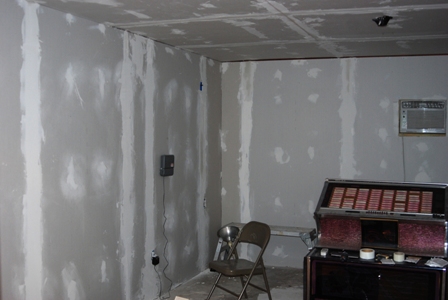
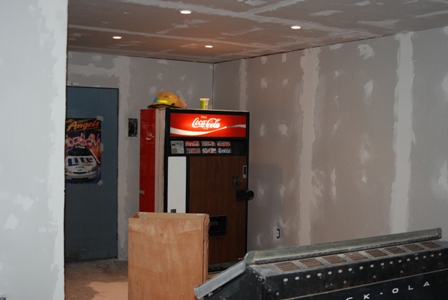
Days 7 and 8 had me improving my sheetrock taping and floating skills, which were not that good to begin with. But with a few hours spent each day I managed to get the first coat on and smoothed over the walls and the first coat of mud on the ceiling.
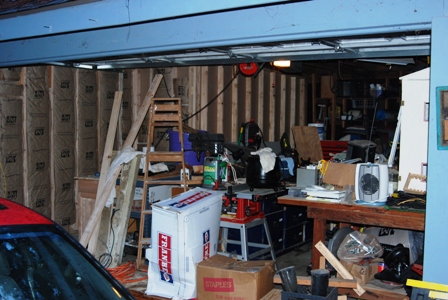
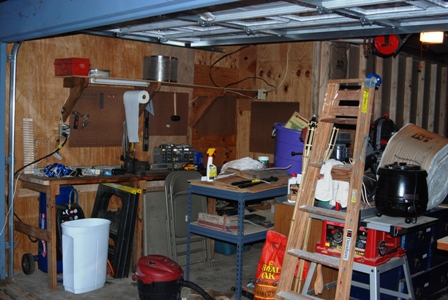
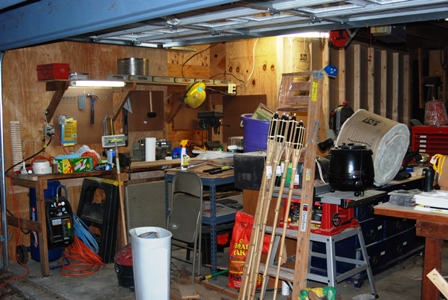
I also spent a good bit of time rebuilding my work bench and covering the inner walls on the shop side. I installed some pegboard to help organize the area but as you can tell from the photo I have long way to go.
|
|
|
|
|
|
|
|
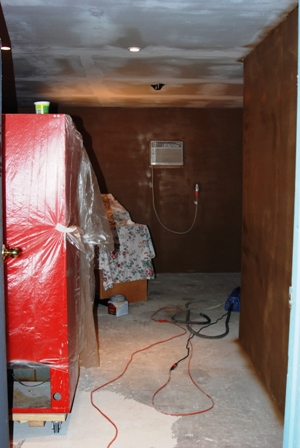
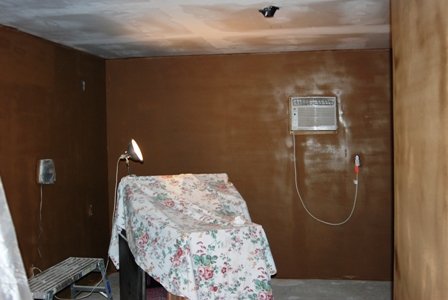
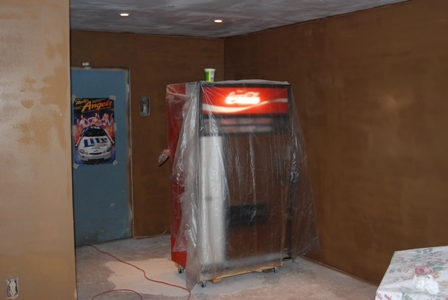
Dust was the name of the game on days 9 and 10 as I sanded down the sheetrock mud. The dry wall dust was everywhere! In order to get rid of it with out spreading it around, I use my shop-vac but used two of the cloth filters with one placed over the other. Even with this setup I had to open it up and dump the dust and clean off the filter at least 4 times.
But once I got all the dust picked up, I used Shannon's Wagner Powershot for the primer and her HVLP (High Volume Low Pressure) spray gun for the first cost of the wall paint. Shannon has lots of ideas for the finishing and I'm sure it will turn out awesome. I'm glad my wife has the toys I like to play with too! The photos below are right after the paint was applied so the shimmer is mis-leading.
|
|
|
|
|
|
|
|
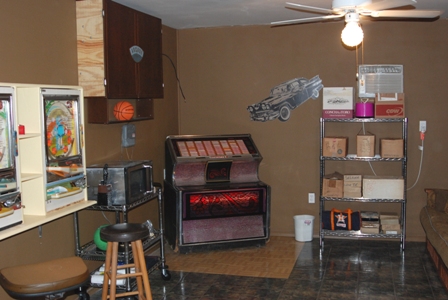
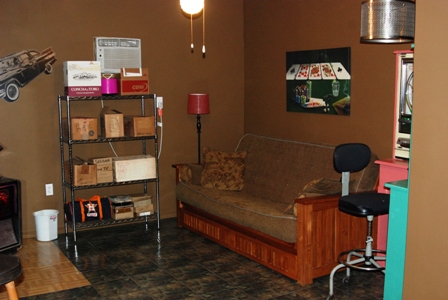
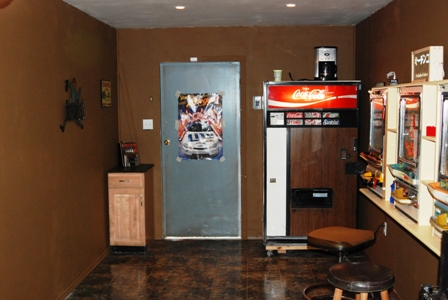
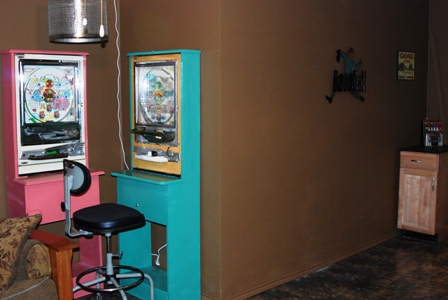
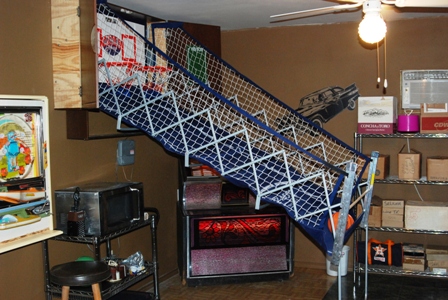
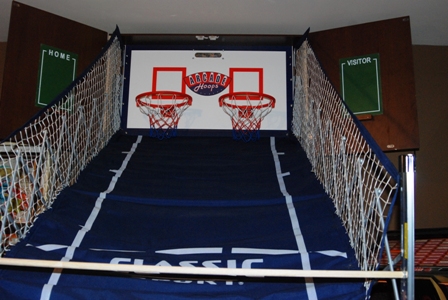
After weeks of work we finnally have the "ManCave" 99% complete! Remaining is the crown molding, few pieces of trim, a TV shelf and a little more painting. With the room done I moved in and set in place all the components of the room. The photos below show the jukebox and pachinko machines installed along with the Arcade Hoops game. The shelf in the back holds my 45 record collection that is waiting organization. Under the Hoops game is the microwave cart. I have a total of 7 Pachinko machines although only 5 were installed when these photos were taken. I am planning on putting my dart board on the back of the entrance door and painting it with chalk board paint for score keeping. The room is an amazing difference and it almost feels like a completely different place that we can 'escape to'. Oh.. note the absense of a phone!
|
|
|
|
|
|
|
|
|
|
|


